Let’s talk about the “A-word.”
Audit.
Just saying it out loud makes people want to take a nap. It sounds expensive. It sounds corporate. It sounds like a guy in a suit charging you $500 an hour to tell you that your font size is too small or that your logo is slightly off-center.
In the design world, we treat audits like root canals: painful, expensive, and something to be avoided until the patient is screaming.
But you don’t need a consultant to tell you your website sucks. You likely already know it. You feel it in your gut when you watch a user struggle with a form you built. You see it in the analytics where the drop-off rate looks like a cliff edge. You just don’t know where it sucks specifically.
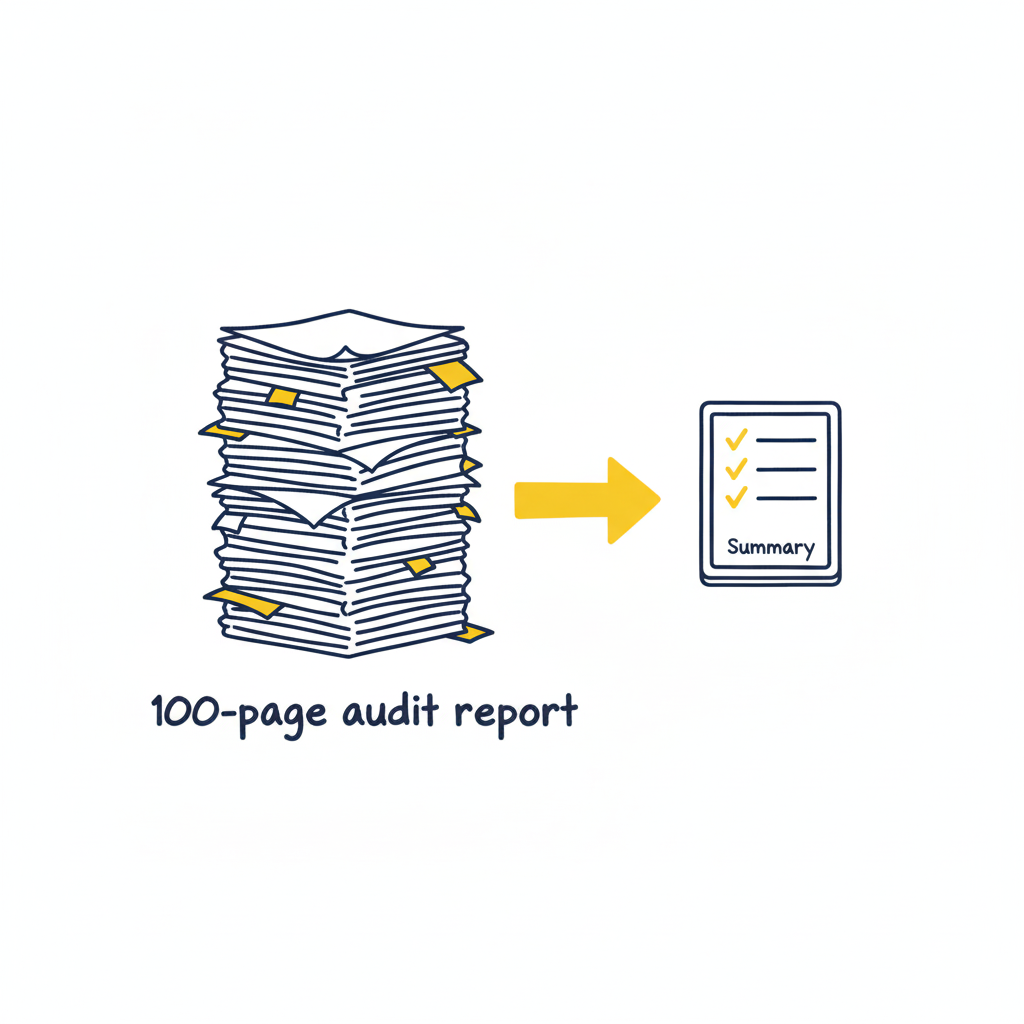
Most UX audits are massive overkill.
Agencies love to deliver 100-page PDFs filled with jargon like “cognitive friction” and “information scent.” Those documents usually end up in a folder called “Old Stuff,” never to be read again. You don’t need a thesis. You don’t need a philosophy lecture. You need a 10-point checklist that exposes the ugly truth in under 20 minutes.
The “Common Sense” Framework
Most usability issues stem from a violation of basic heuristics—fancy words for “stuff Jakob Nielsen figured out 30 years ago.” These aren’t trends; they are the laws of physics for the web.
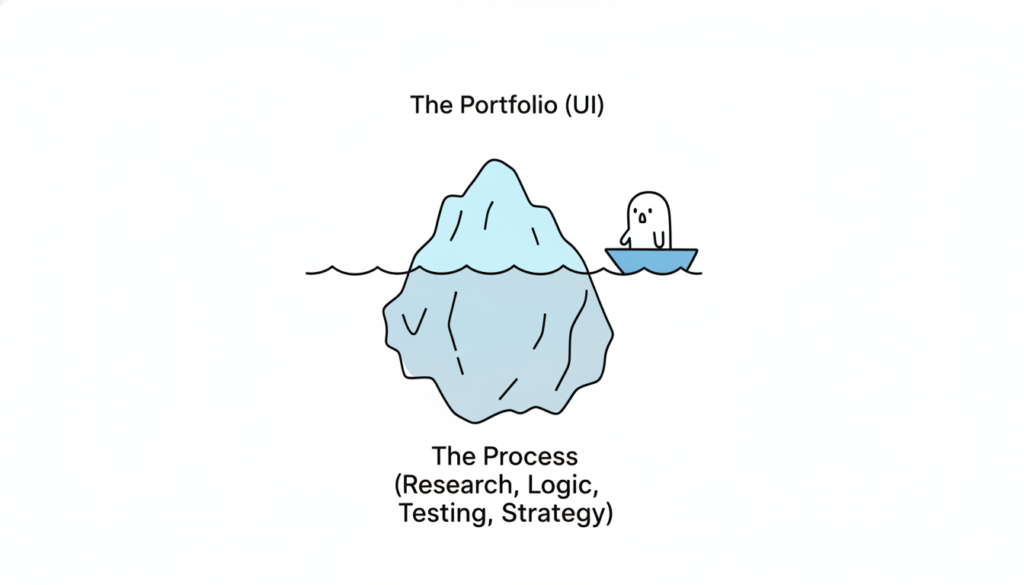
If you want to fix your product, stop looking at analytics for a second and look at the interface. Analytics tell you what is happening (they are leaving), but an audit tells you why.
Here is the framework. It’s not about perfection; it’s about triage. You are looking for the “bleeding neck” problems—the ones causing users to rage-quit—before you worry about the “paper cuts.”
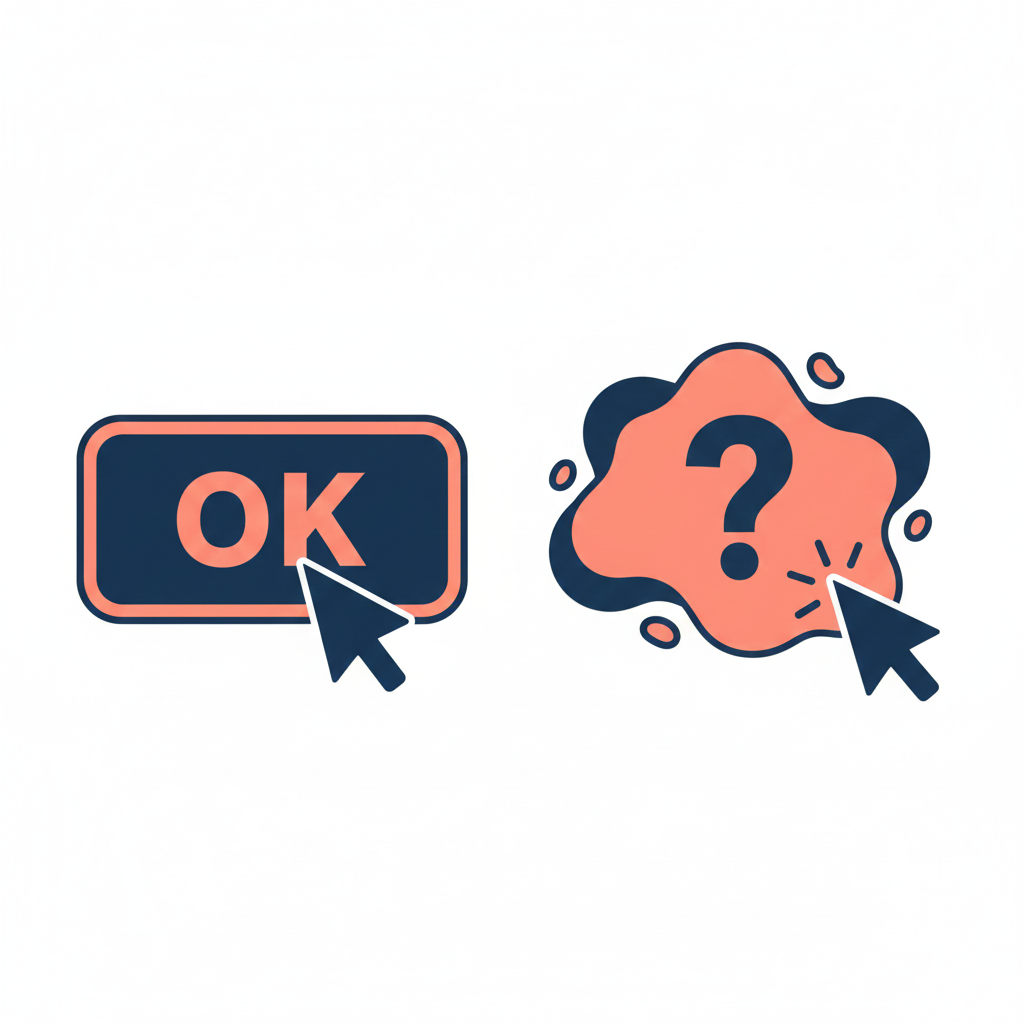
1. Visibility of System Status (Don’t Leave Me Hanging)
Does the user know what’s going on? Is the button loading? Did the save work?
The Context: Silence is the enemy of UX. If a user clicks “Buy” and nothing happens for 3 seconds, they assume it’s broken. They will click again. They will double-charge their card. They will hate you.
The Check: Does every action have a reaction? Spinners, progress bars, and “Success” checkmarks aren’t decoration; they are reassurance.

2. Match Between System and Real World (Speak Human)
Are you speaking “Developer” or “Human“?
The Context: Users don’t know your internal terminology. They shouldn’t have to.
The Check: Look for jargon. Instead of “System Error 404,” try “We couldn’t find that page.” Instead of “Execute Protocol,” try “Run Backup.” If your grandmother wouldn’t understand the label, rewrite it.
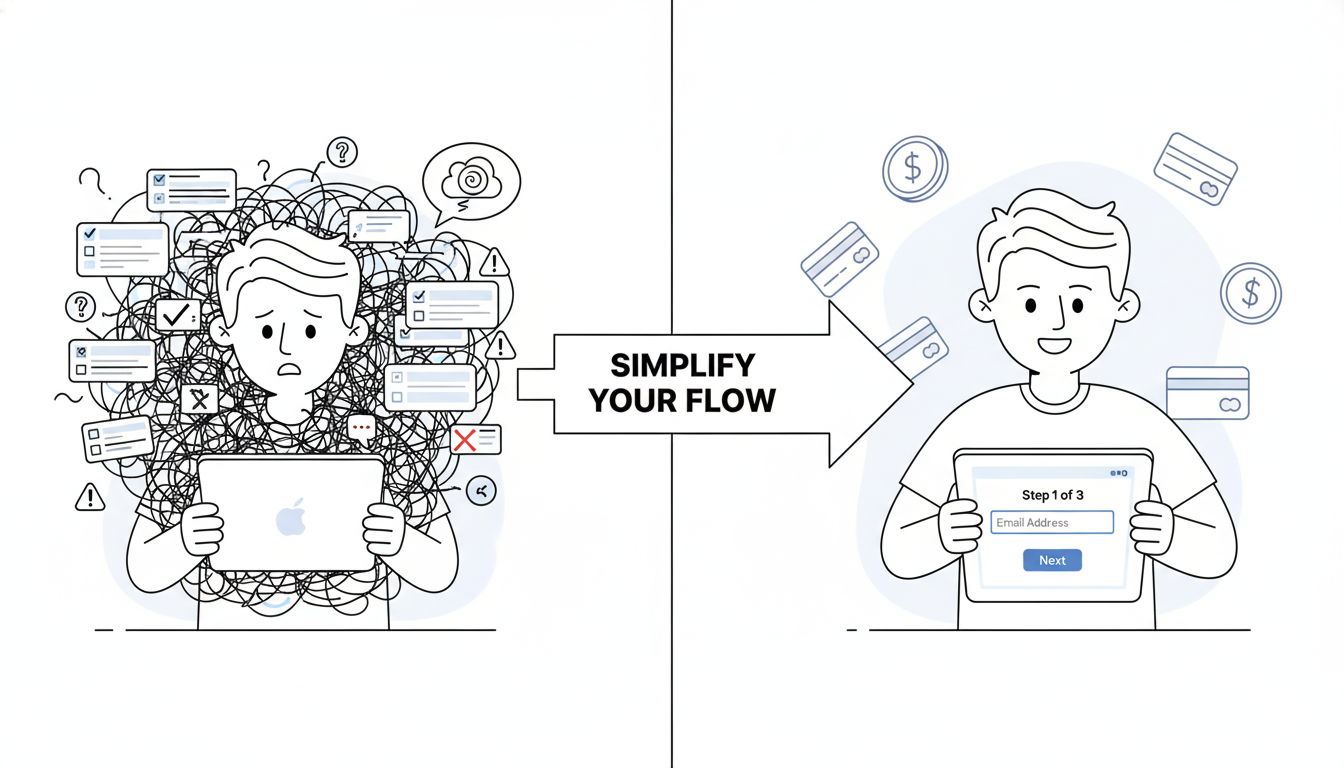
3. User Control and Freedom (The Emergency Exit)
Is there an “Undo“? Can they get out of a flow easily?
The Context: Users make mistakes. They click the wrong link. They change their mind. If they feel trapped in a flow, they panic.
The Check: Ensure there is always a “Back,” “Cancel,” or “Home” button. Never trap a user in a modal or a multi-step form without a way out.
4. Consistency & Standards (Don’t Gaslight Me)
Does your “Submit” button say “Submit” on one page and “Save” on the next? Does the logo go to the homepage on the desktop app but not the mobile site?
The Context: Inconsistency makes users feel stupid. They learn a rule on page 1, and you break it on page 2. That creates cognitive friction.
The Check: Audit your terminology and placement. Pick a style and stick to it religiously.
5. Error Prevention (The Best Error is the One That Never Happens)
Don’t just fix errors; design them out of existence.
The Context: Error messages are a failure of design. Why did you let the user click that button if the form was empty?
The Check: Gray out invalid options. Disable the “Submit” button until the password is strong enough. Guide the user before they stumble.
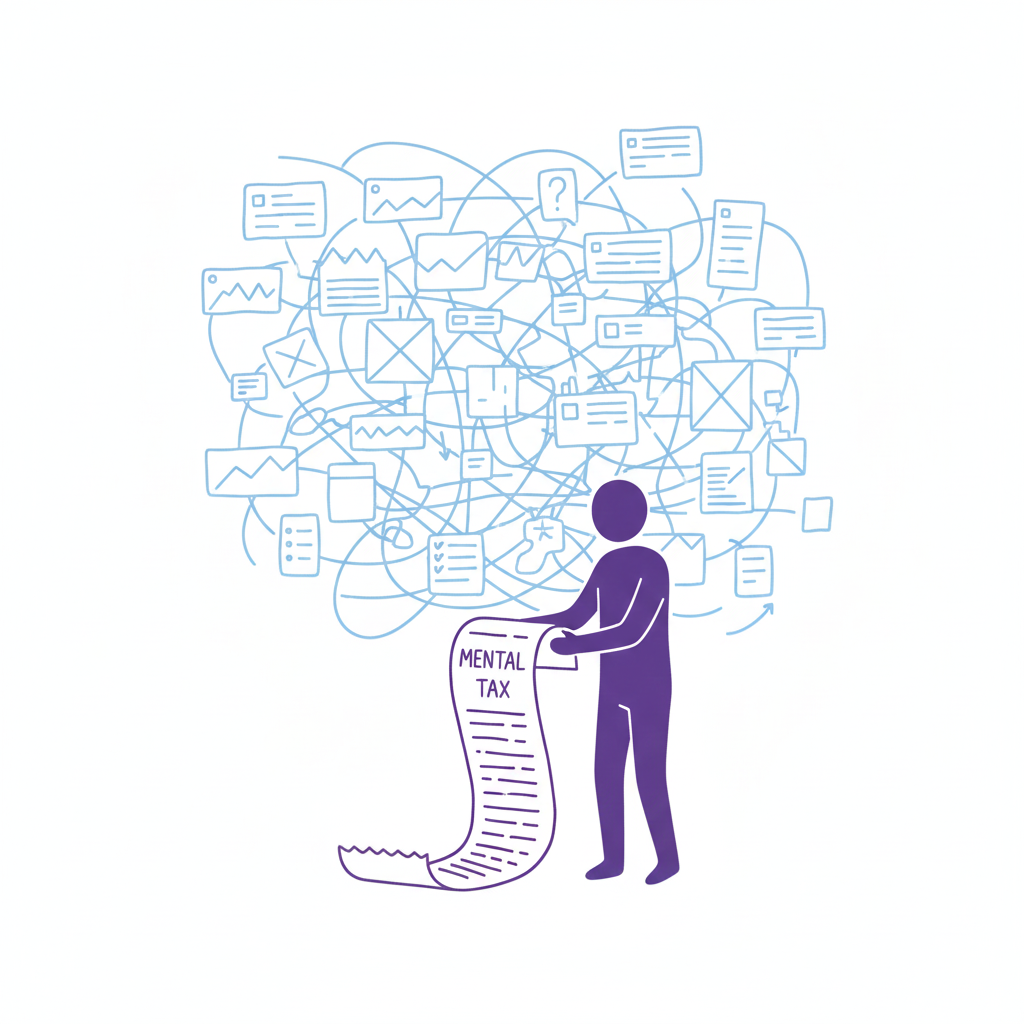
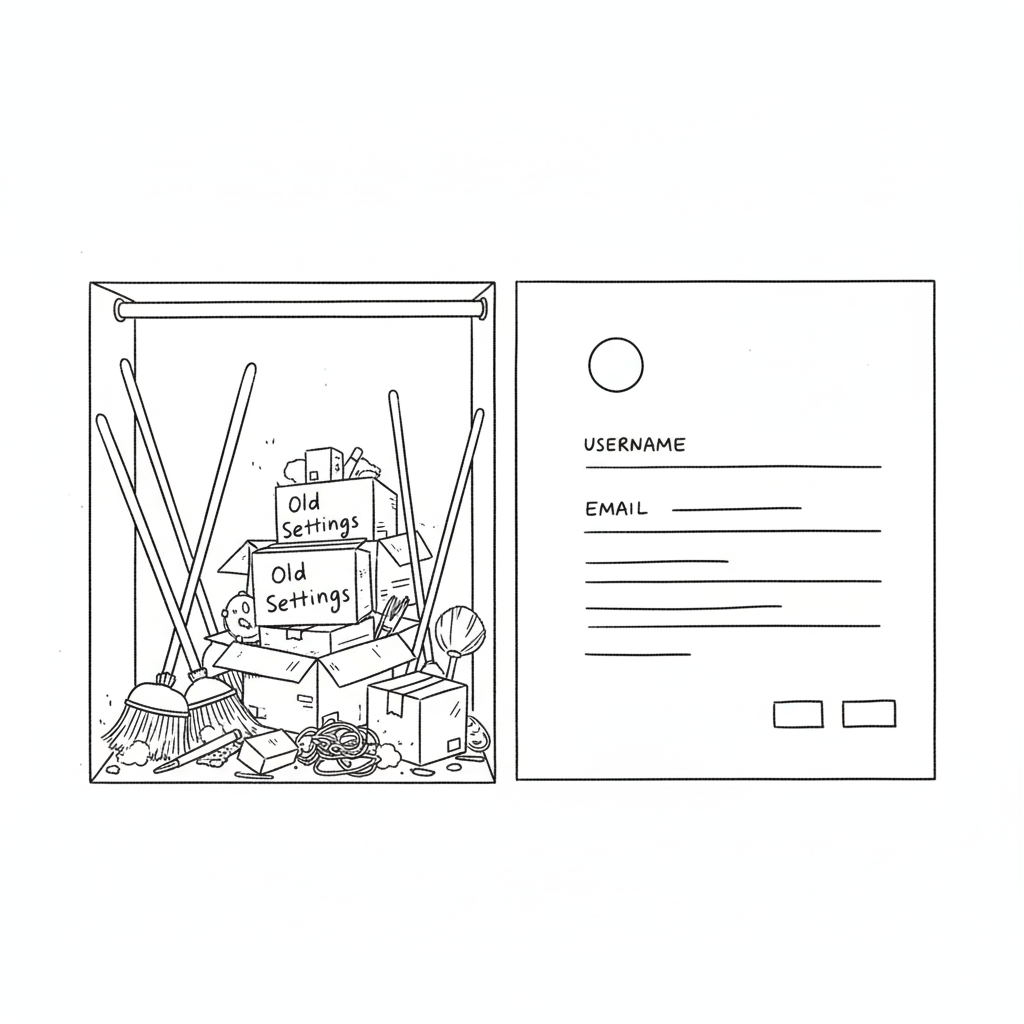
6. Recognition Rather Than Recall (Don’t Make Me Think)
Don’t make the user memorize stuff from page 1 to page 2.
The Context: The human brain is lazy. It doesn’t want to hold information.
The Check: Are menu options clearly visible? Do form fields show examples (e.g., “[email protected]”) inside the box so the user knows the format? Make the options visible, not hidden in memory.
7. Flexibility and Efficiency of Use (Speed for Pros)
Can a power user speed through the task?
The Context: New users need guidance; experts need shortcuts.
The Check: Do you have “Skip” buttons for onboarding? Do you support keyboard shortcuts (Tab, Enter) for forms? Don’t slow down the experts just to hand-hold the newbies.
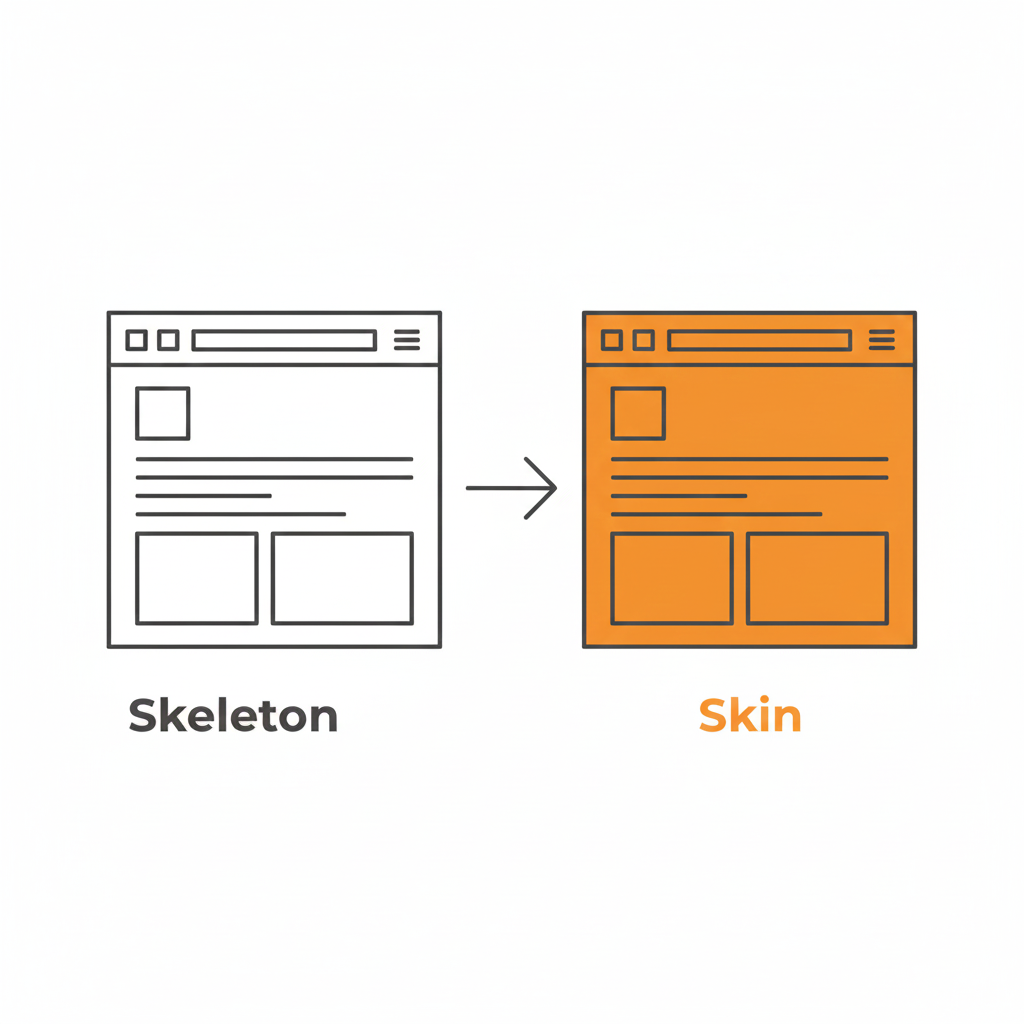
8. Aesthetic and Minimalist Design (Less is More)
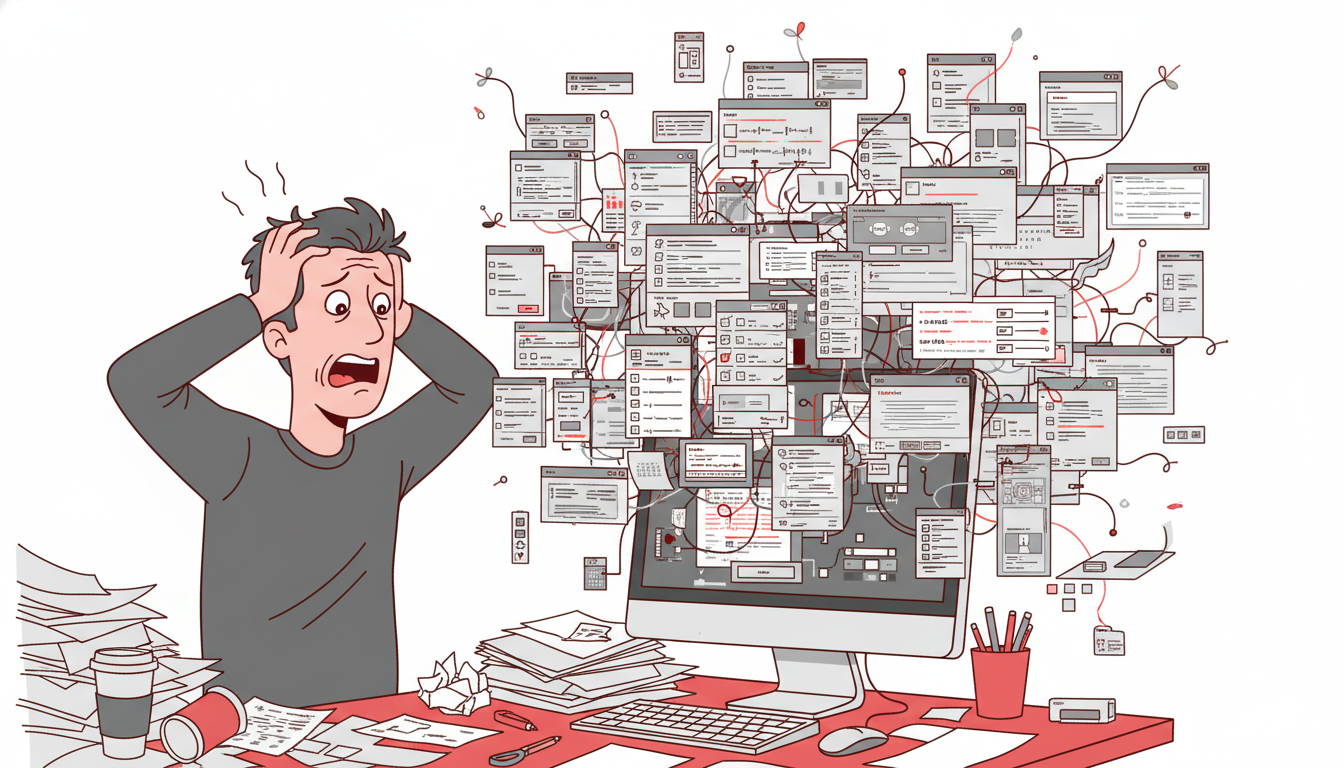
Every extra element is competing for attention.
The Context: If everything is bold, nothing is bold. If you have three “Call to Action” buttons, you have zero.
The Check: Remove, remove, remove. If a paragraph doesn’t help the user achieve their goal, delete it. If a button isn’t critical, hide it.
9. Help Users Recognize, Diagnose, and Recover from Errors (Be Nice)
When things break, explain exactly how to fix them.
The Context: “Invalid Input” is useless. “Password must contain a symbol” is helpful.
The Check: Read your error messages. Are they blaming the user (“Illegal operation”) or helping them? Use plain English and highlight the specific field that needs fixing.
10. Help and Documentation (The Last Resort)
Ideally, the design is so good you don’t need a manual. But if you do…
The Context: Sometimes things are complex.
The Check: Is your help searchable? Is it context-aware (a help button right next to the complex feature)? Don’t bury the “Contact Support” link five levels deep.
How to Run the Audit (The “Fresh Eyes” Protocol)
As the folks at Eleken point out, a structured approach to reviewing your product against standard usability heuristics is the fastest way to spot those “tiny imperfections” that ruin the user experience.

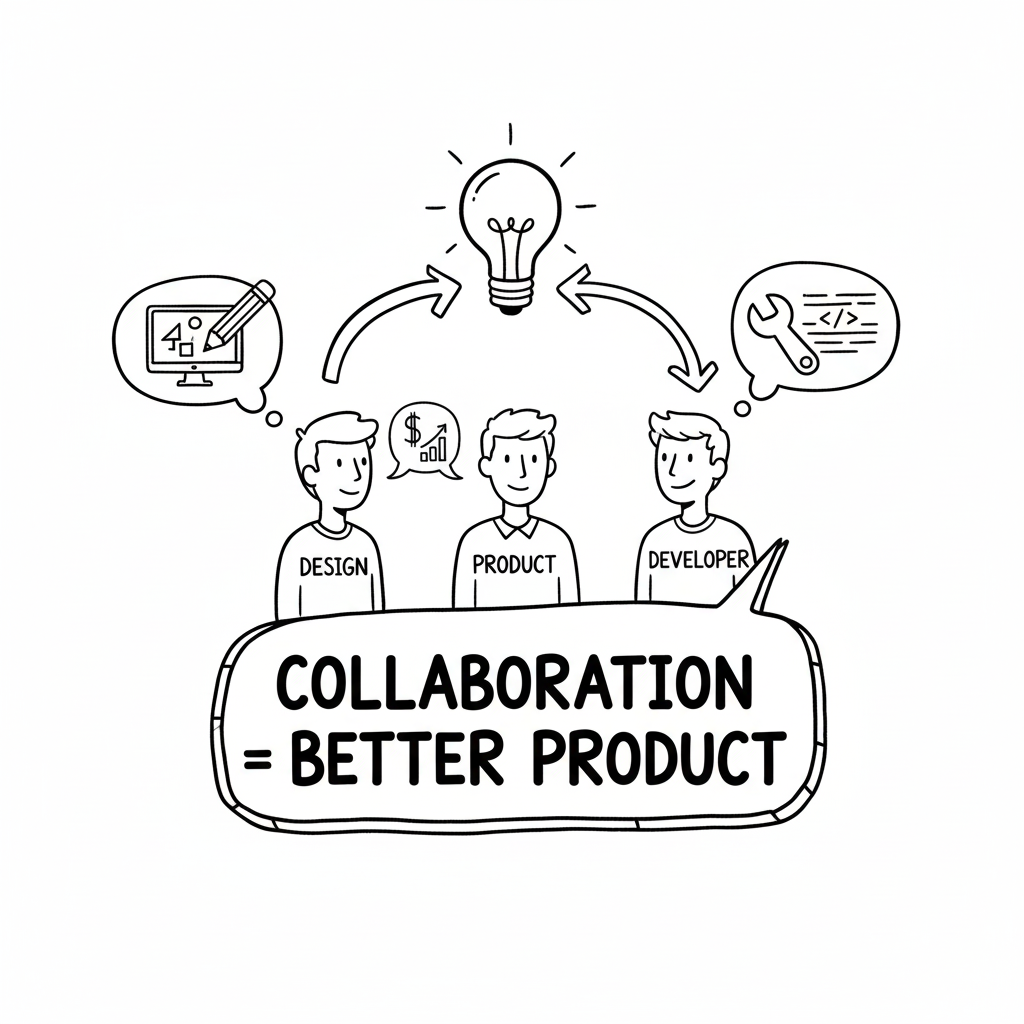
But you can’t do it alone. You know where the bodies are buried. You know why that button is weirdly placed (because of a legacy API from 2019). Your users don’t care.
- Print the Checklist: Physical paper helps. It feels like a detective’s notebook.
- The “Jerk” Test: Go through your product and try to break it. Click randomly. Leave fields empty. Type gibberish.
- The “Mom” Test: Watch someone who isn’t in tech try to use your site. Don’t help them. Just watch where they pause.
Downloadable Asset
We’ve turned the heavy theory into a lightweight tool. Grab our “Is This Trash?” UX Audit Checklist. It’s a single-page PDF that walks you through the 10 critical heuristics listed above. Print it out, tape it to your monitor, and go to town.
[📥 Download the “Is This Trash?” Checklist]
FAQs
Q: Can I audit my own design?
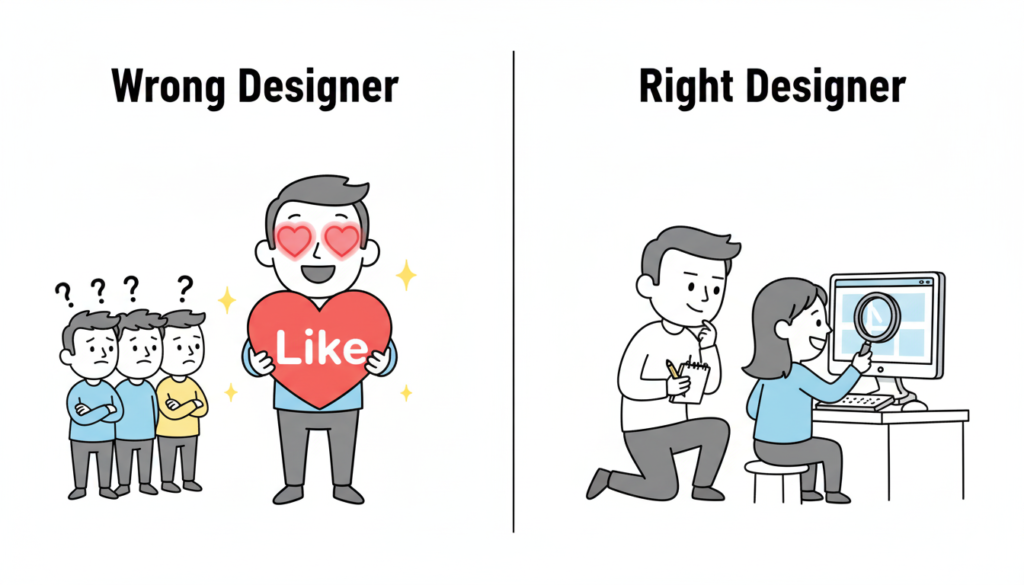
A: You can try, but you’re blind to your own children’s flaws. You know why you built that confusing button (it seemed like a good idea at 2 AM). Your users don’t. Get a friend to do the checklist.
Q: What if I fail the audit?
A: You will fail the audit. Everyone fails the first audit. That’s the point. If you passed, you weren’t looking hard enough. Now fix it.
Q: Is a checklist better than user testing?
A: No. User testing is king. But a checklist is free and takes 10 minutes. Do the checklist first to fix the obvious, stupid stuff before you pay real humans to test it. Save your money for the complex problems.
Also Read: UX Design Patterns – Why Your “Unique” Design Is Hurting Your Users